Hexo—>OK
本次在win10平台使用Hexo搭建本地博客再通过github进行部署,以及使用melody主题进行博客美化,文章中详细的介绍了该博客的搭建过程,希望对大家有帮助。
一、环境配置
- nodejs下载
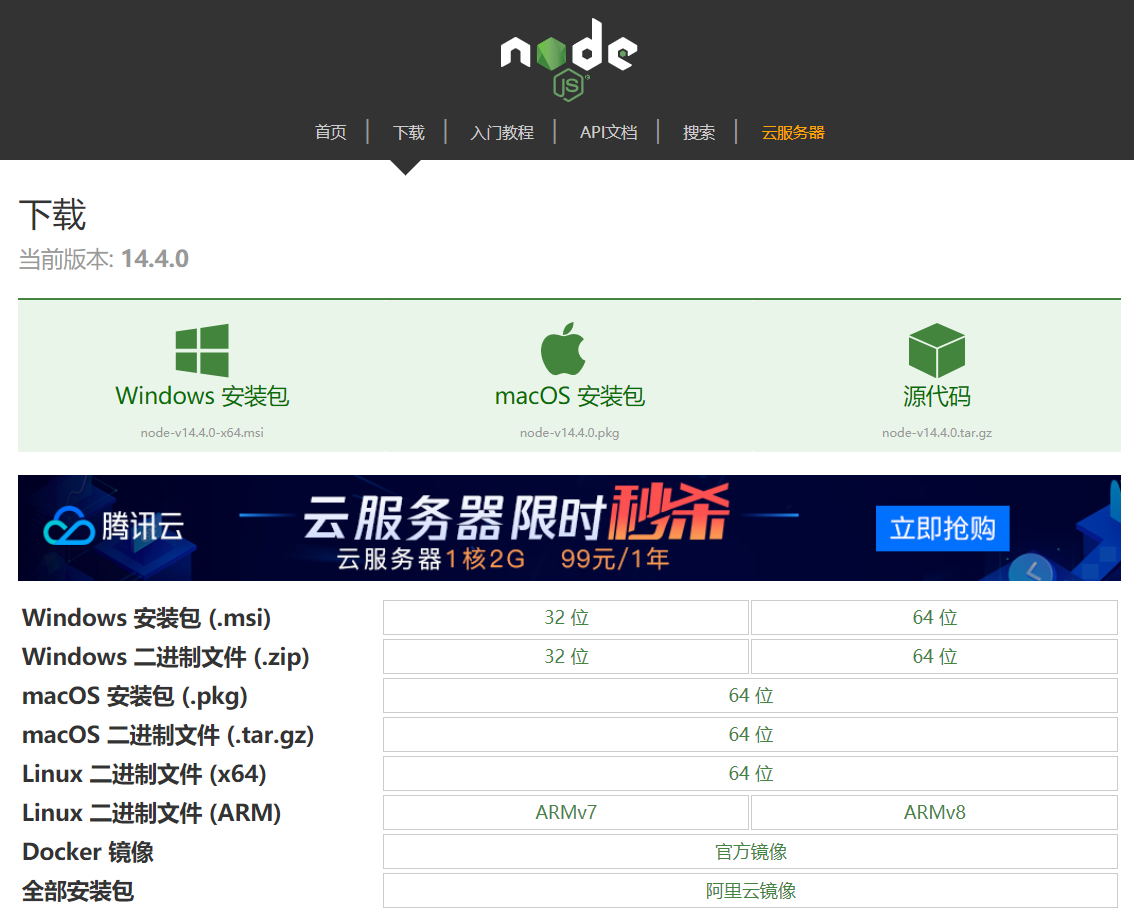
- nodejs安装
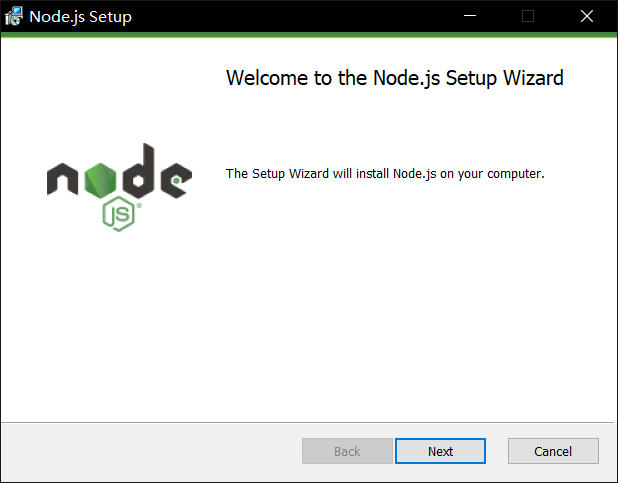 全部下一步就可以。
 - win+r 并查看node、npm是否安装完毕
1
2
node -v
npm -v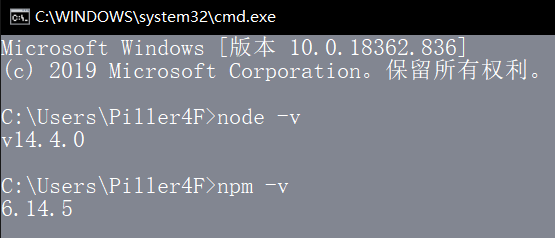
- 由于国内使用npm速度较慢,因此需要使用npm安装cnpm
1
npm install -g cnpm --registry=https://registry.npm.taobao.org
- 使用cnpm安装hexo博客框架
1
cnpm install -g hexo-cli
- 建立本地hexo部署文件(切换自己想要安装的盘符),并进入blog目录。
1
2
mkdir blog
cd blog - 初始化自己的本地hexo博客
1
hexo init
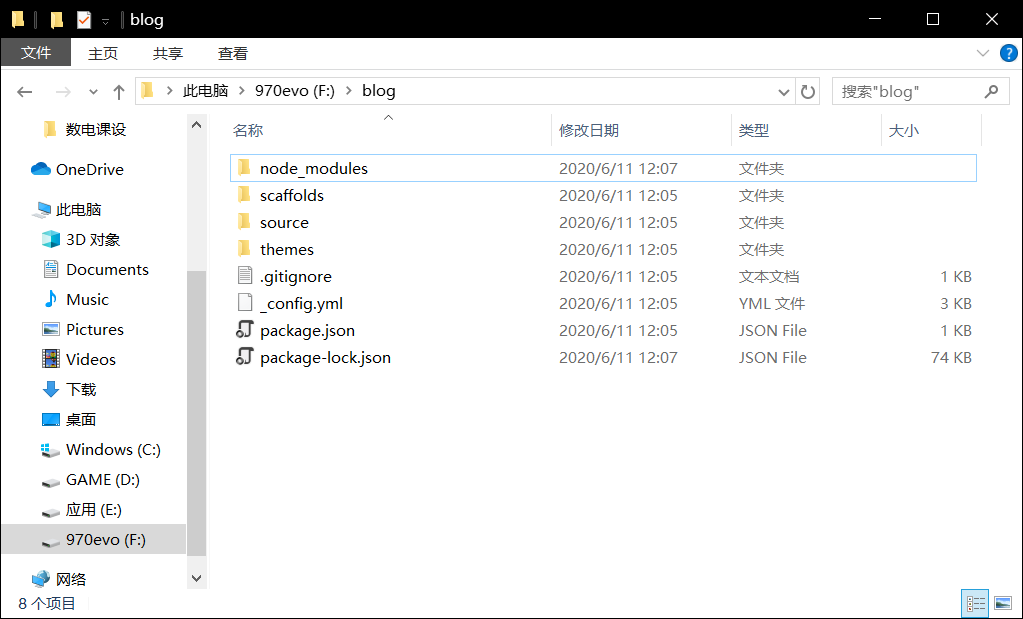
- 在blog根目录下命名行输入本地hexo博客生成完毕。
1
hexo s
- 现在尝试写自己的第一个博客吧我这里的第一个博客当然就是现在正在编辑的“我的Hexo博客搭建”。
1
2
3
hexo n "我的Hexo博客搭建"
cd source/_posts/
dir
10 .重新生成我们的hexo博客查看自己的本地hexo博客1
2
3
4cd ../..
hexo clean
hexo g
hexo s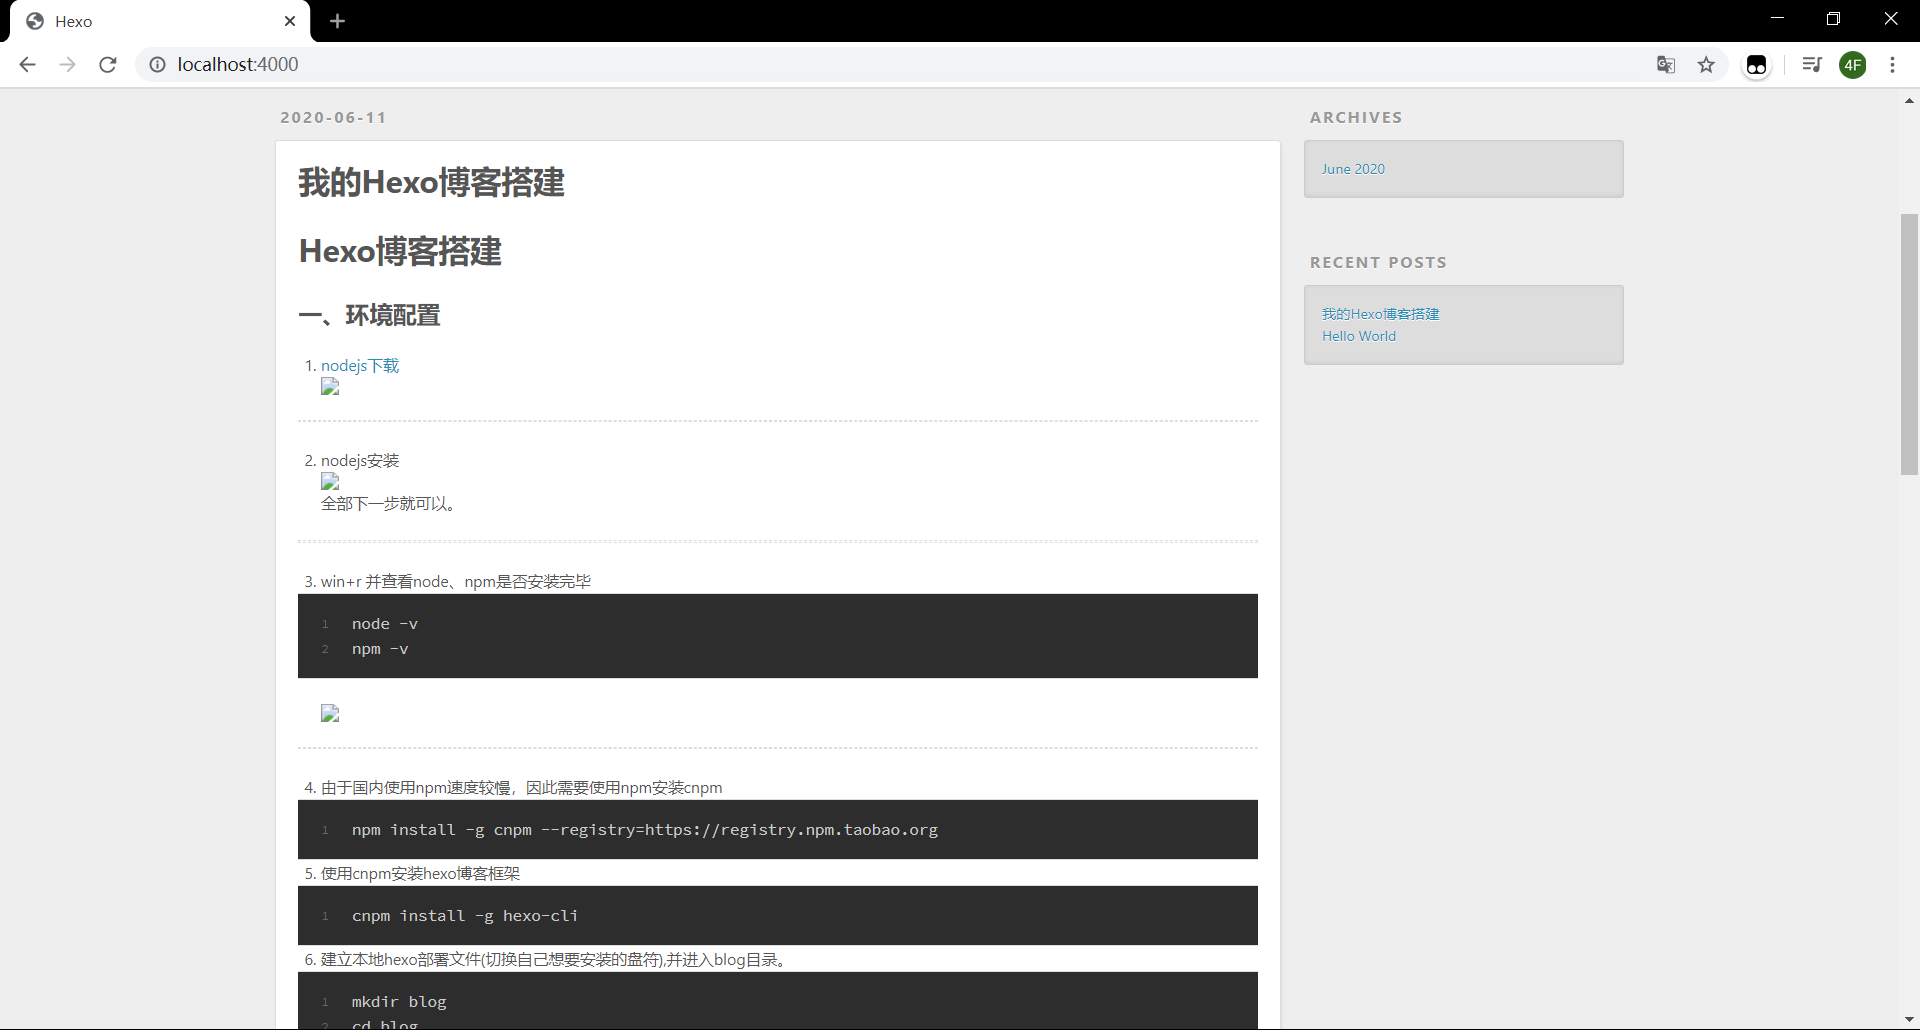 可以看到我们的第一个博客建立完毕了。
二、将自己的博客部署到github
- 登陆自己的github,New repository。
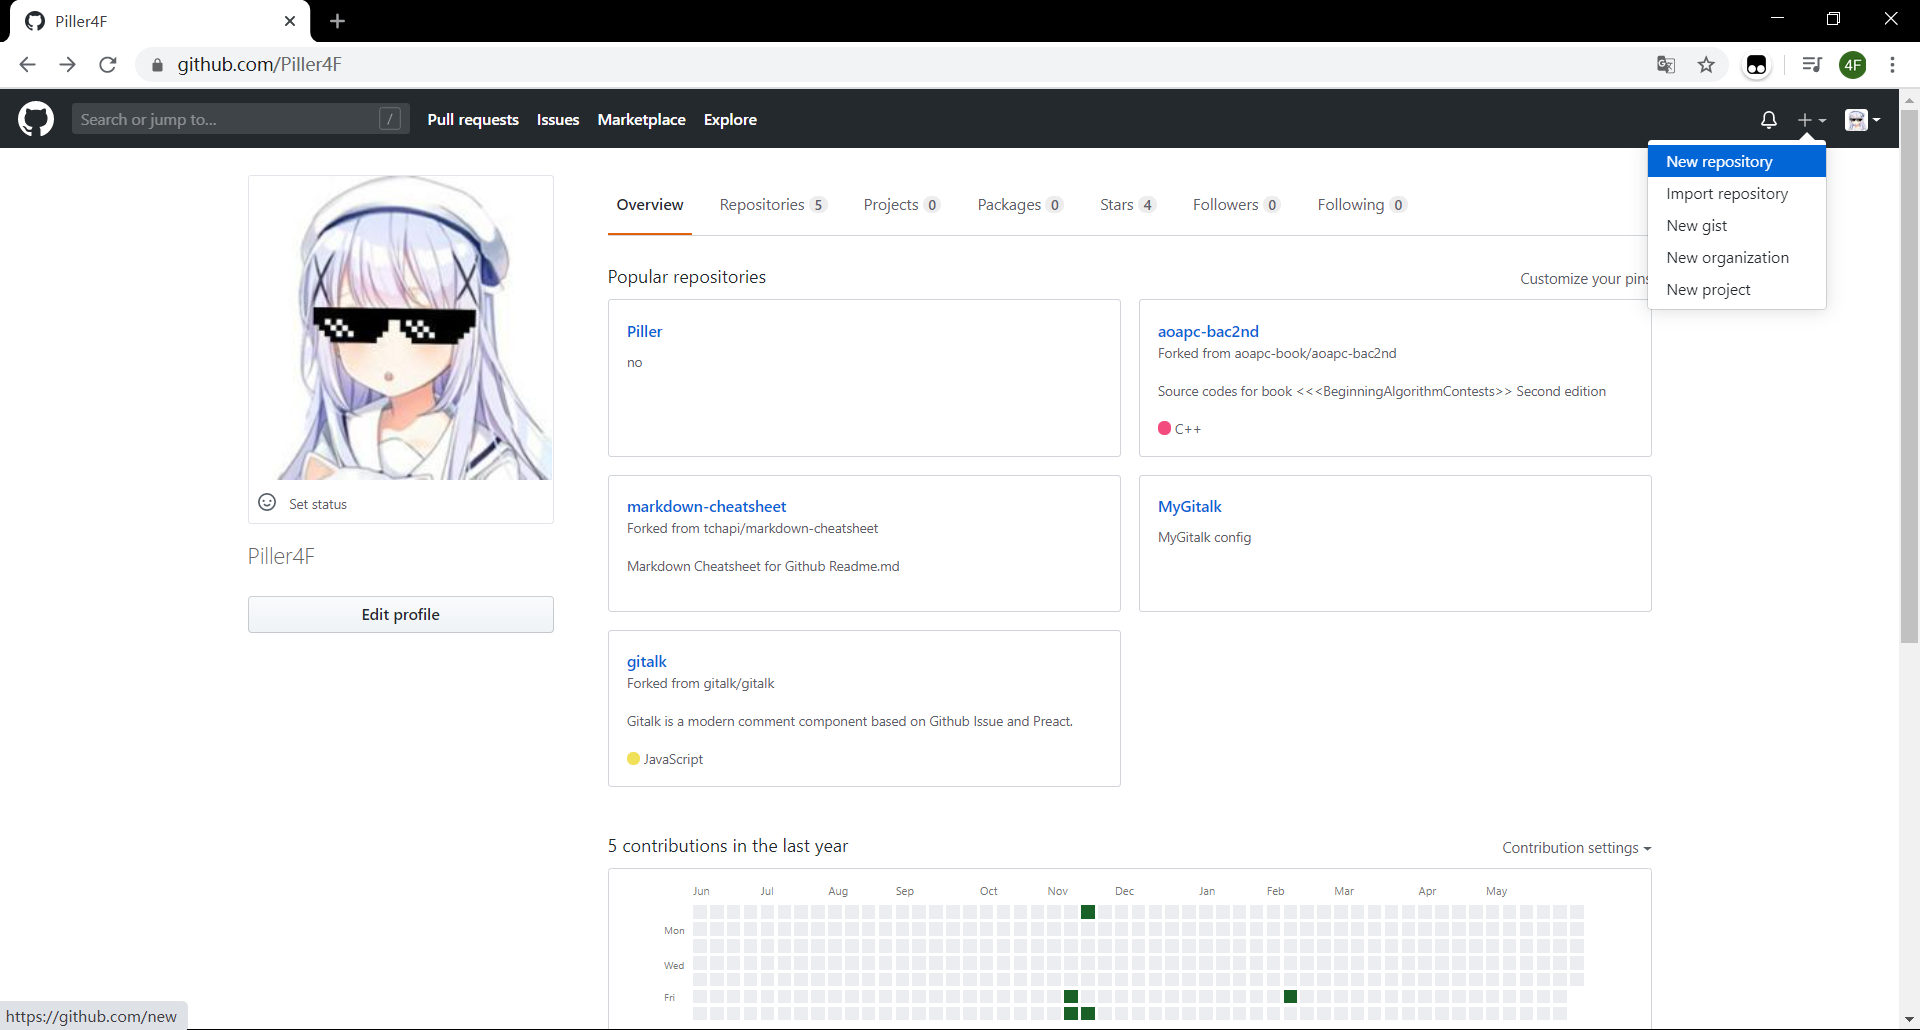 Repository必须是(自己的github用户名).github.io

- 进入自己的本地blog目录安装git部署插件
1
cnpm install --save hexo-deployer-git
- 配置自己的本地_config.yml
用记事本打开就可以,按下面内容进行修改注意repo这行应该为自己的github地址,这里是以我的举例。1
2
3
4
5
6# Deployment
## Docs: https://hexo.io/docs/deployment.html
deploy:
type: git
repo: https://github.com/Piller4F/piller4f.github.io.git
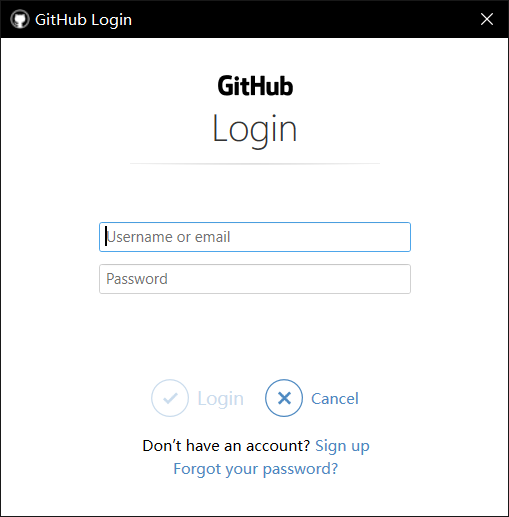
branch: master - 将自己的本地博客部署到github
进入本地blog文件1
hexo d
- 在浏览器中输入网址
1
2以我自己建立的博客为例
piller4f.github.io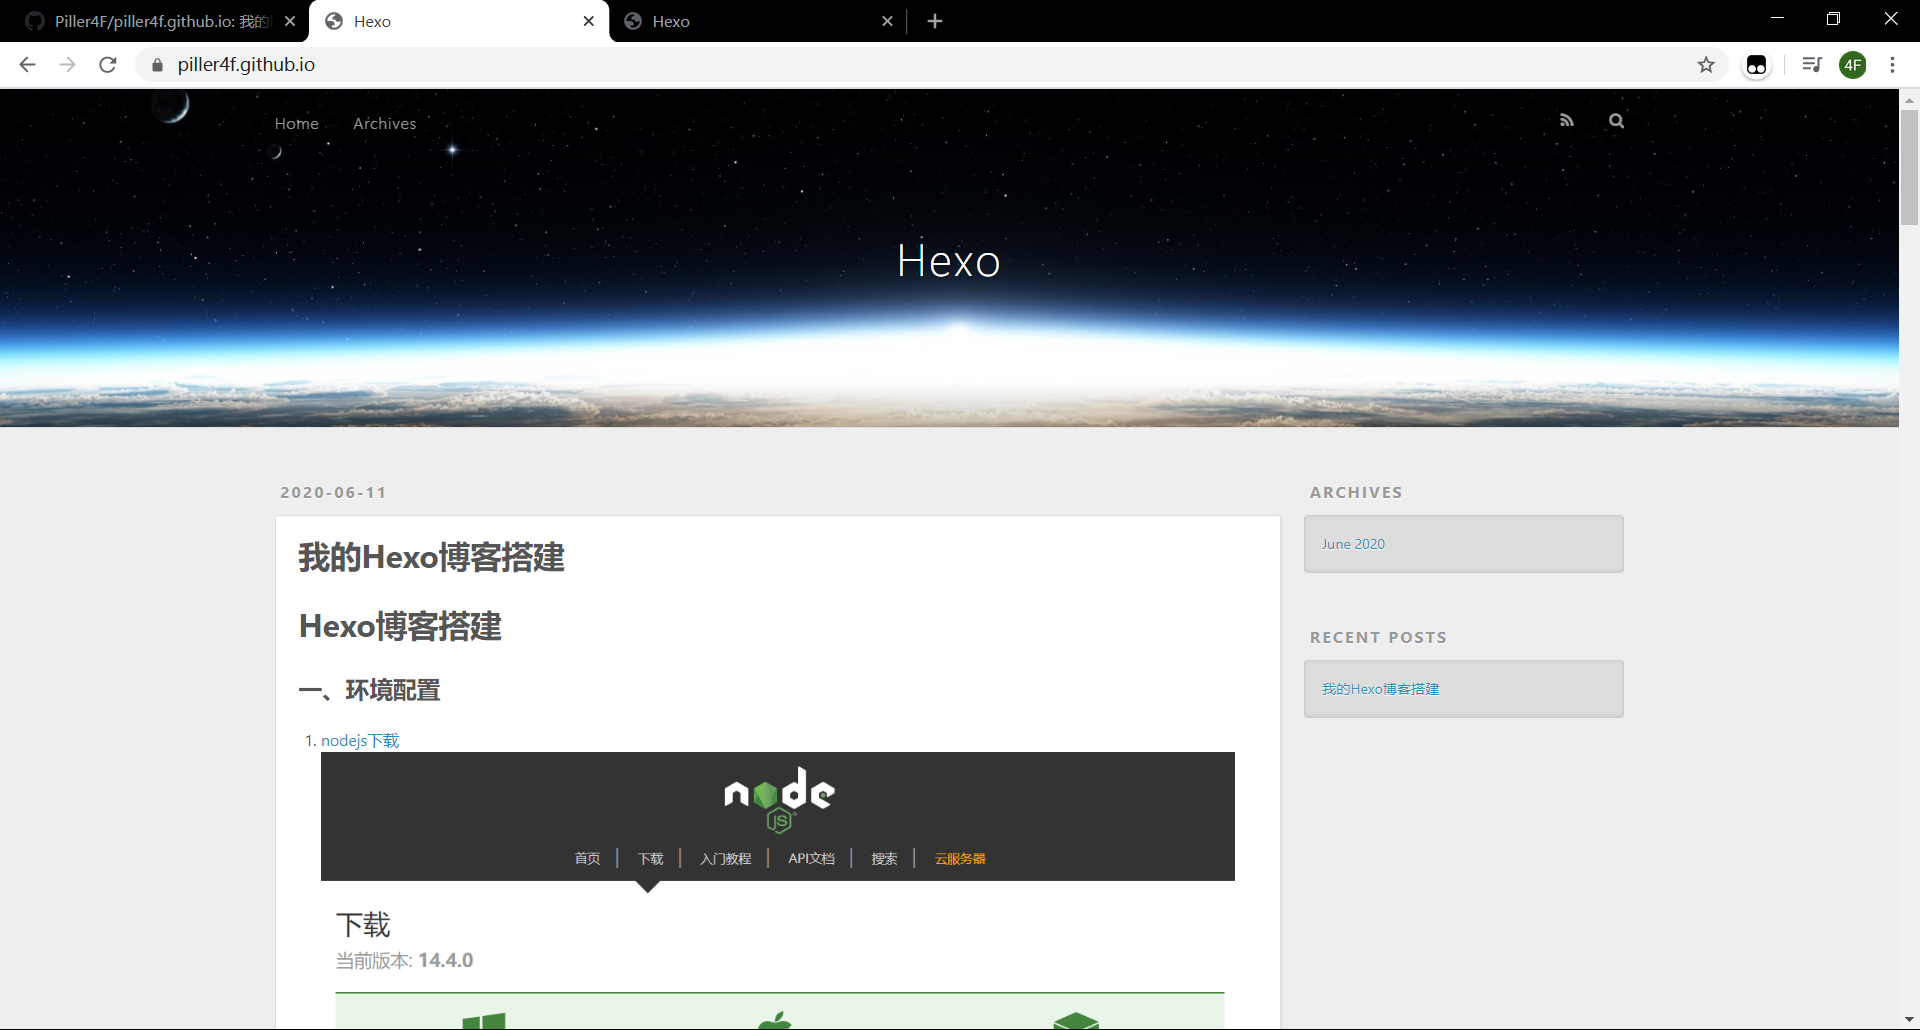
三、更换我们的hexo主题
我想给我的博客使用melody主题,这个主题简约好看。
官方melody使用教程
- 进入本地blog文件安装melody
1
2git clone -b master https://github.com/Molunerfinn/hexo-theme-melody themes/melody
npm install hexo-renderer-jade hexo-renderer-stylus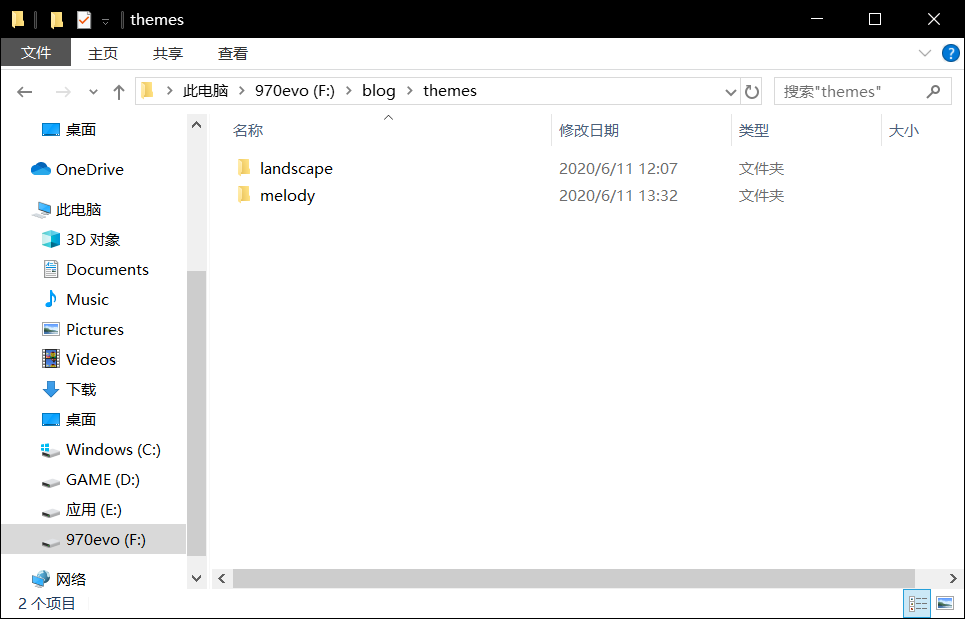
- 修改配置文件_config.yml
1
2
3
4# Extensions
## Plugins: https://hexo.io/plugins/
## Themes: https://hexo.io/themes/
theme: melody - 重新生成hexo查看下本地hexo博客,如果有奇怪错误
1
2hexo g
hexo s部署我的博客1
hexo clean
如果出现部署失败时,重新安装git部署插件,再进行部署1
hexo d
最终的效果1
npm install hexo-deployer-git –save
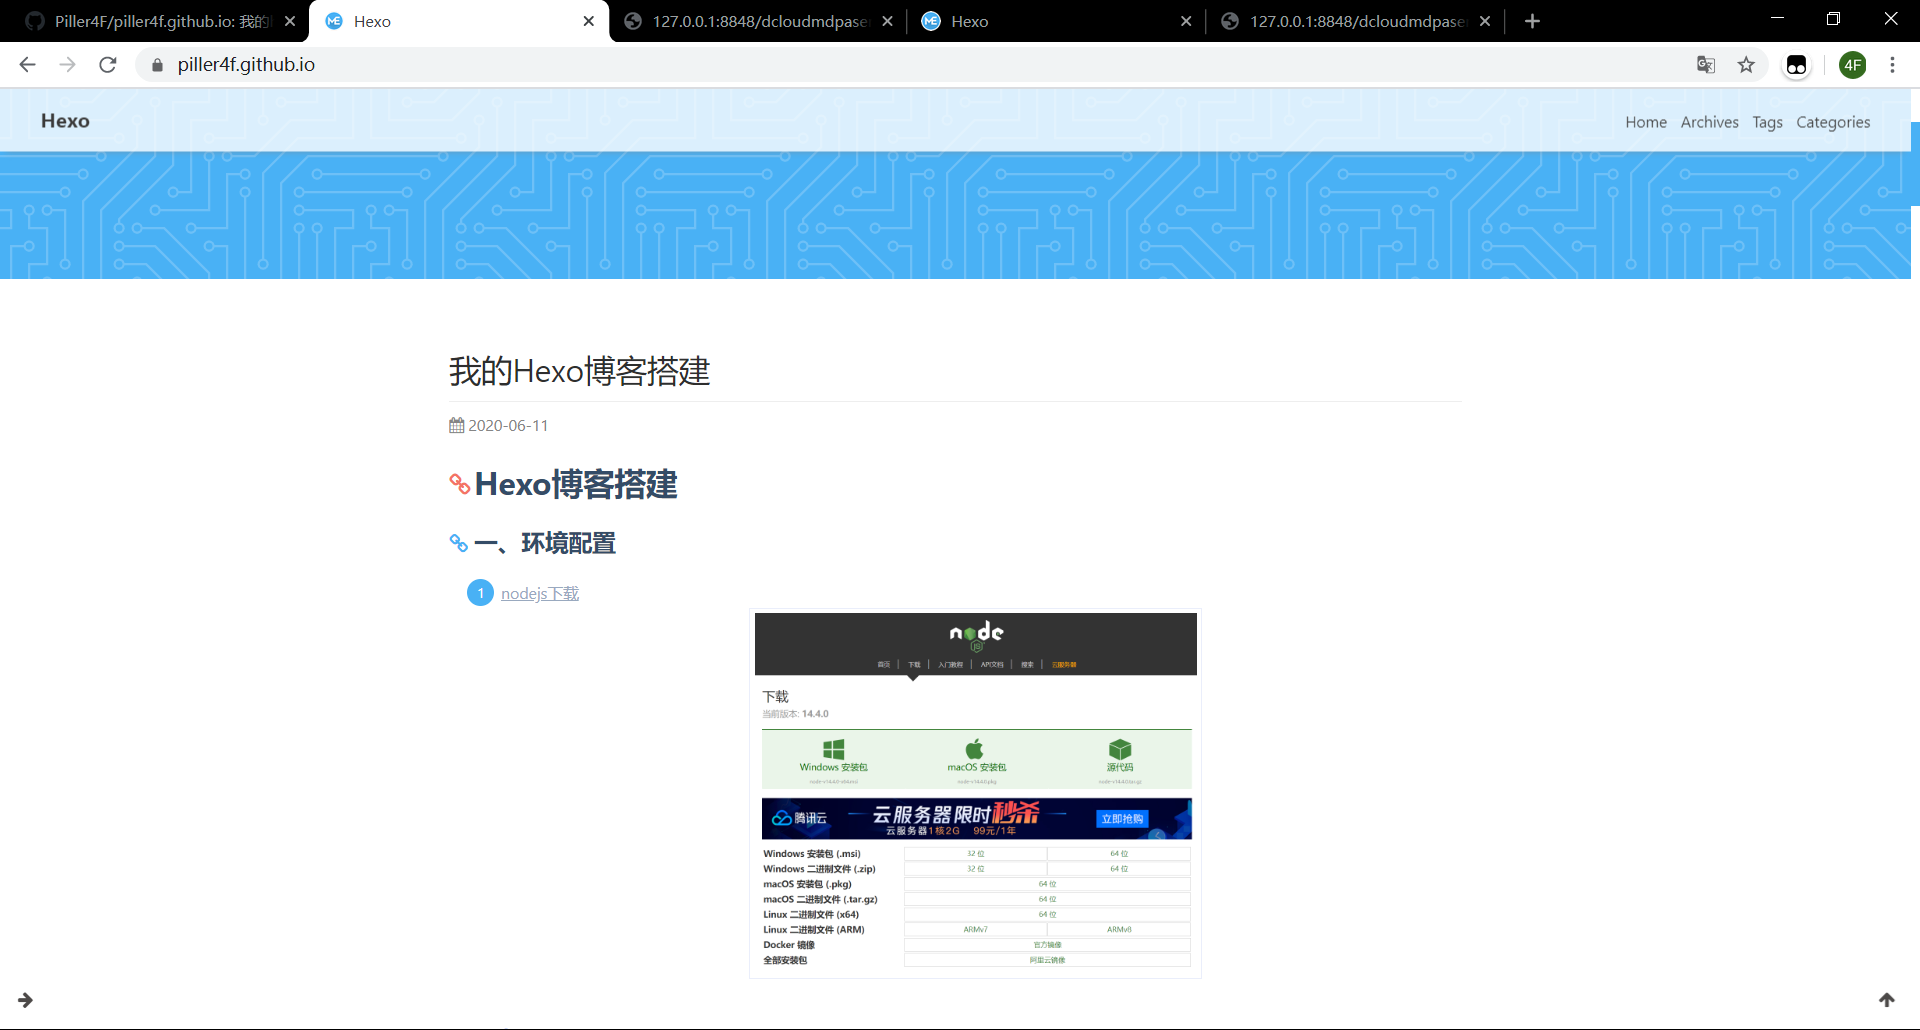
四、melody主题配置
- 将
blog\themes\melody\_config.yml复制并更名到F:\blog\source\_data\melody.yml - 配置melody.yml(配置方法)
这里我只展示我修改的部分
1 | # _config.yml |
1 | # melody.yml |
五、使用Gitalk为博客添加评论功能
- 什么是Gitalk?
Gitalk是一个基于GitHub Issue和Preact开发的评论插件
可以使用github直接登陆,并支持多种语言,支持Markdown语法等。 - Gitalk安装
1
npm i --save gitalk
- 申请一个GitHub Application点我。
1
2
3
4
5依次为
随便
博客地址
随便
博客地址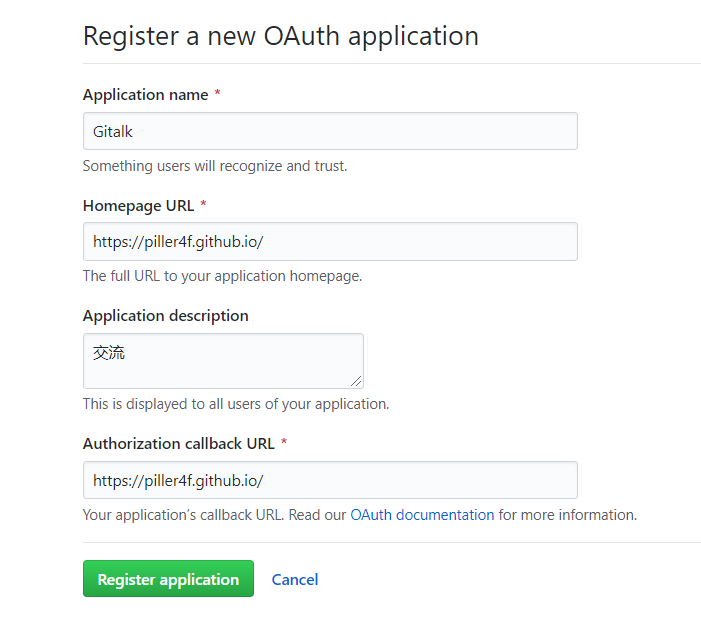 Client ID、Client Secret复制
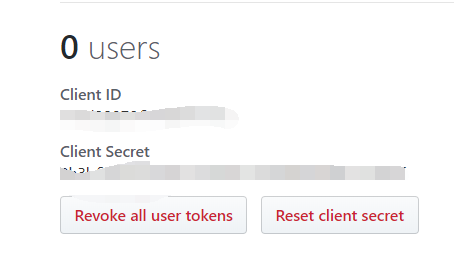
- 修改melody.yml
1
2
3
4
5
6
7gitalk:
enable: true
client_id: ************** #输入复制的
client_secret: **************
repo: piller4f.github.io #博客地址
owner: Piller4F #github用户名
admin: Piller4F #github用户名 - 将hexo部署到github后,登陆就可以用了

六、Addthis分享功能
- Addthis官网
- 配置分项分格
- 点击右上角Get The Code
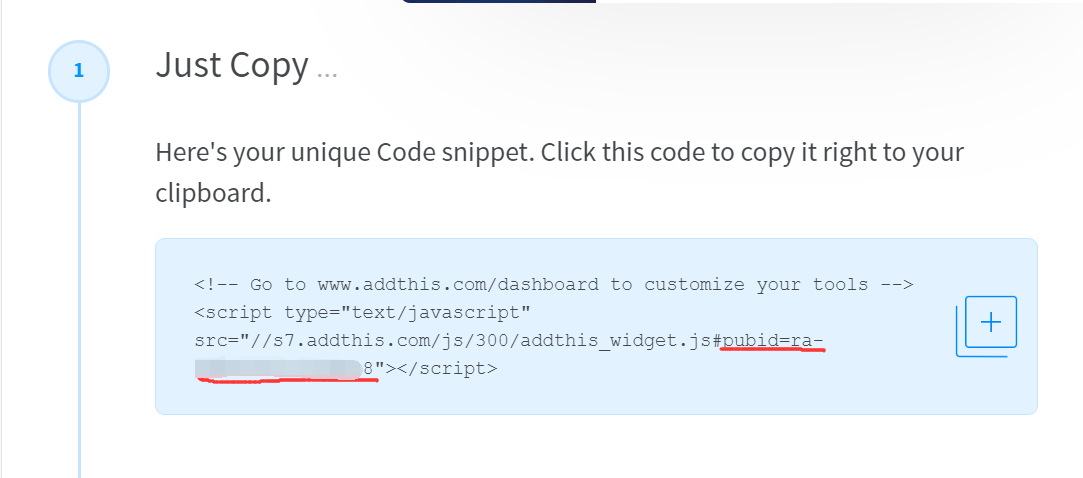
- 配置melody.yml
1
2
3addThis:
enable: true
pubid: ra-5dd8f37b7cd00be8
七、为自己的博文添加Live2D动画模型挂件
- 安装Live2D模块最好用cnpm比npm快了不知多少(当然你得装cnpm)
1
npm install --save hexo-helper-live2d
1
cnpm install --save hexo-helper-live2d
- 模型下载地址下载packages文件就可以
- 模型预览
- 将packages中的所有文件拷贝到node_moduels目录下
- 打开博客根目录的_config.yml,添加如下内容:
1
2
3
4
5
6
7
8
9
10
11
12
13
14
15
16
17# live2D 模型
live2d:
enable: true
# enable: false
scriptFrom: local # 默认
pluginRootPath: live2dw/ # 插件在站点上的根目录
pluginJsPath: lib/ # 脚本文件相对与插件根目录路径
pluginModelPath: assets/ # 模型文件相对与插件根目录路径
model:
use: live2d-widget-model-hijiki # 下载的动画模型名称
display:
superSample: 2
width: 210
height: 420
position: right # 模型显示在网页上的位置
hOffset: -20
vOffset: -20
